
智能客服
常见问题
公众号
二维码
二维码

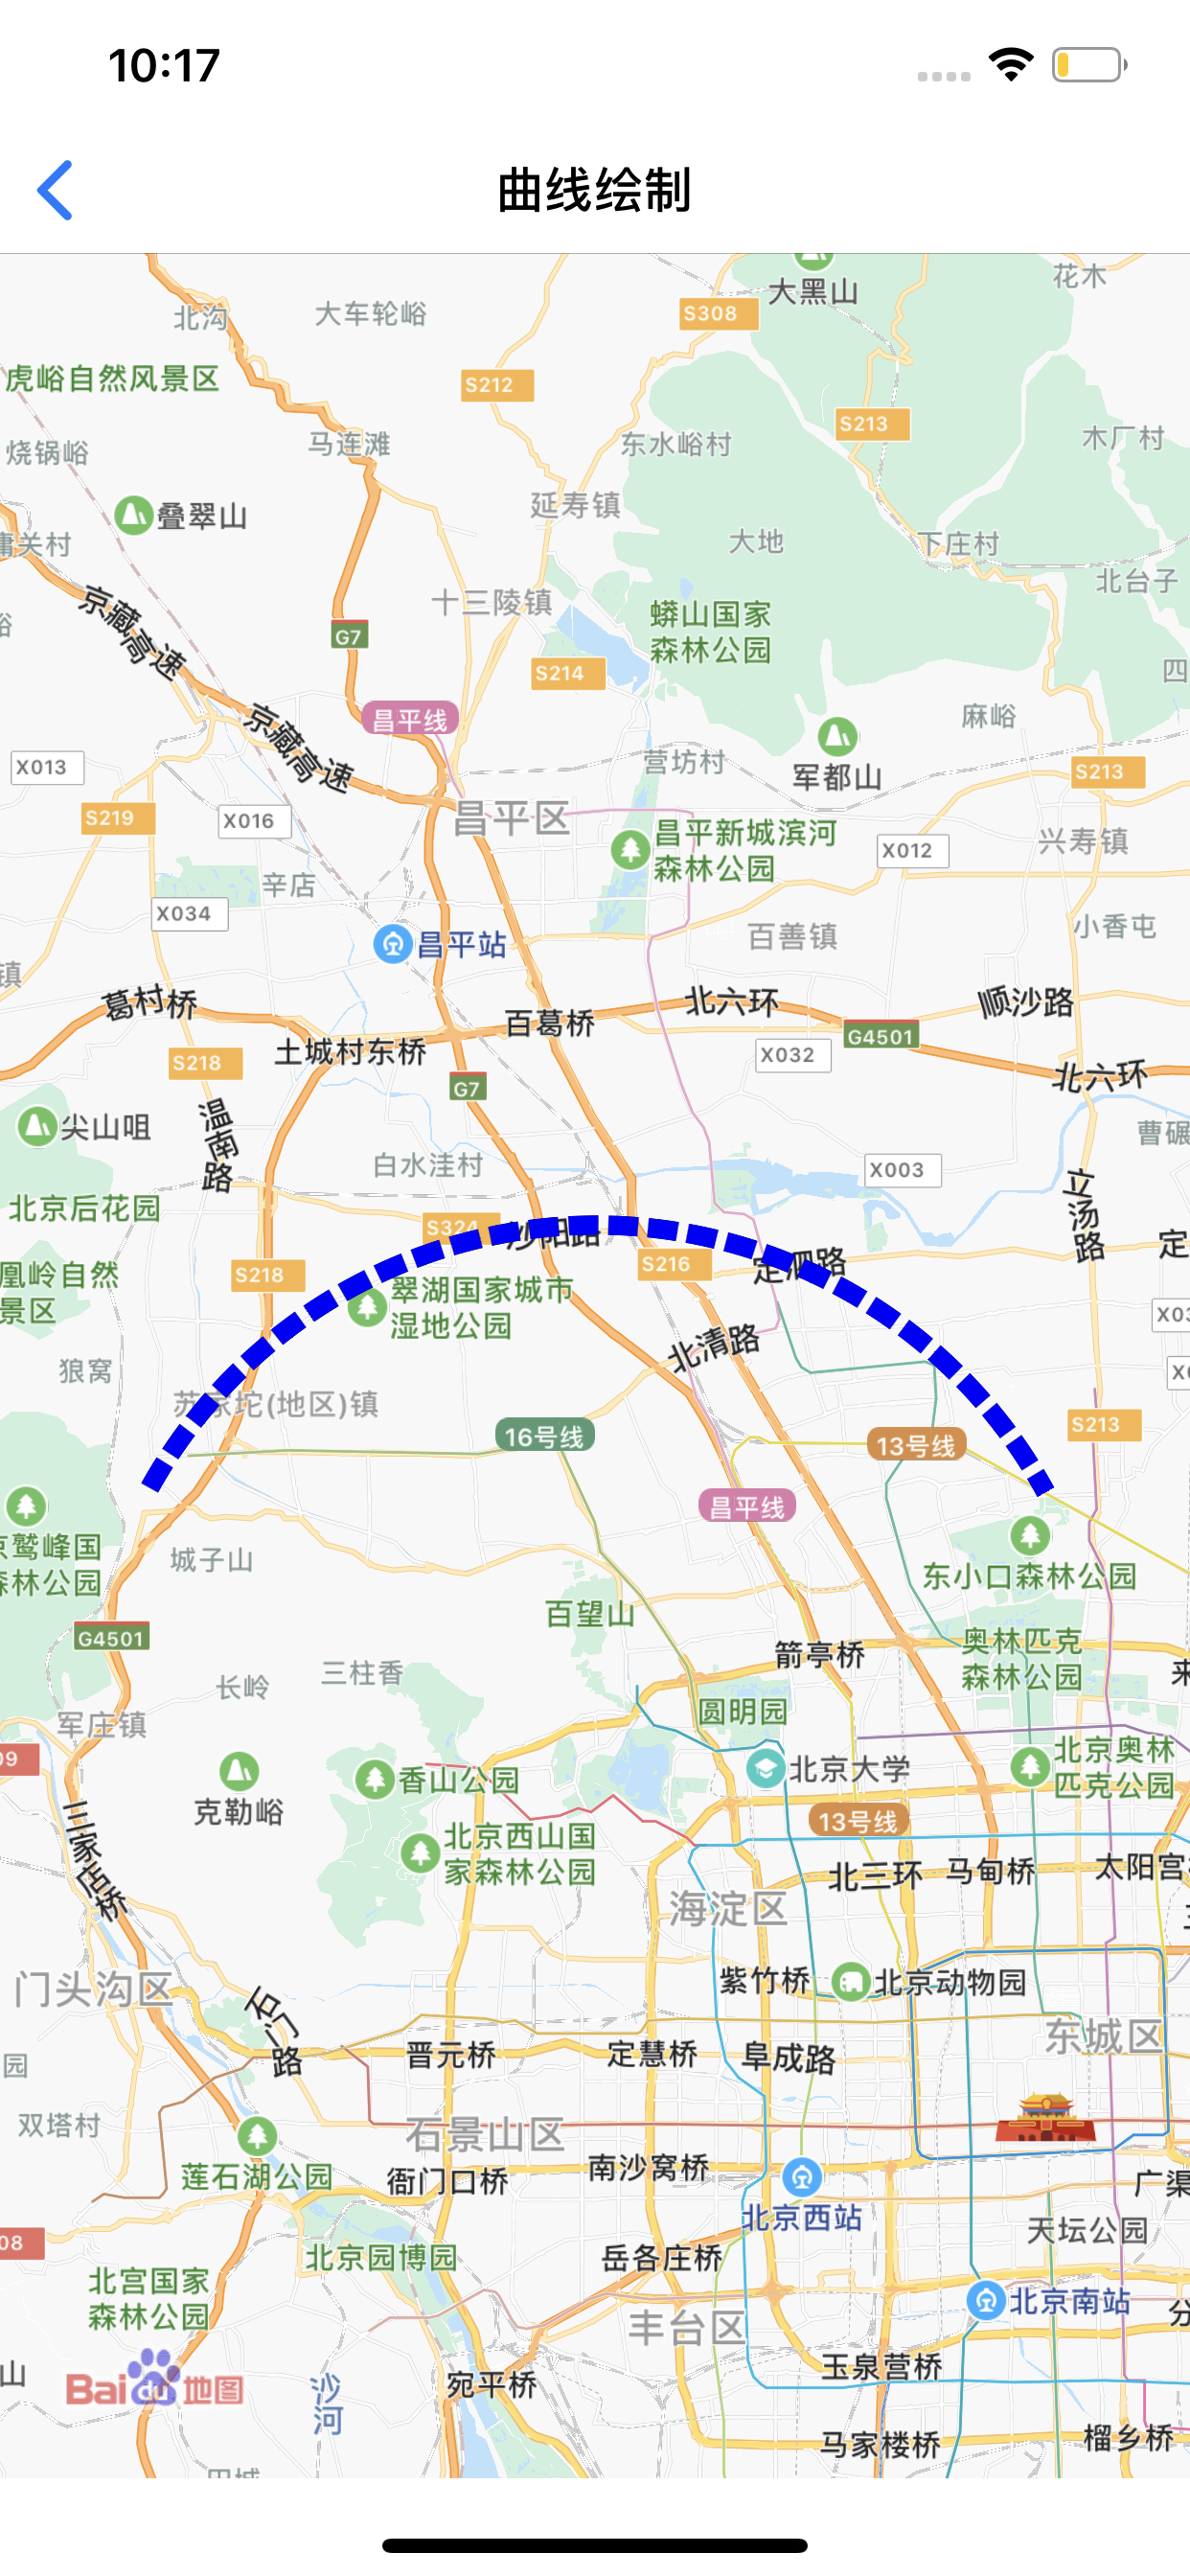
用户可以根据三个有序点唯一确定一条弧线,满足您的业务需求。
//添加弧线覆盖物//传入的坐标顺序为起点、途经点、终点CLLocationCoordinate2D coords[3] = {0};coords[0].latitude = 40.065;coords[0].longitude = 116.124;coords[1].latitude = 40.125;coords[1].longitude = 116.304;coords[2].latitude = 40.065;coords[2].longitude = 116.404;BMKArcline *arcline = [BMKArcline arclineWithCoordinates:coords];[_mapView addOverlay:arcline];
#pragma mark - BMKMapViewDelegate/**根据overlay生成对应的BMKOverlayView@param mapView 地图View@param overlay 指定的overlay@return 生成的覆盖物View*/- (BMKOverlayView *)mapView:(BMKMapView *)mapView viewForOverlay:(id<BMKOverlay>)overlay{if ([overlay isKindOfClass:[BMKArcline class]]){BMKArclineView *arclineView = [[BMKArclineView alloc] initWithArcline:overlay];arclineView.strokeColor = [UIColor blueColor];arclineView.lineDash = YES;arclineView.lineWidth = 6.0;return arclineView;}return nil;}
效果如图:
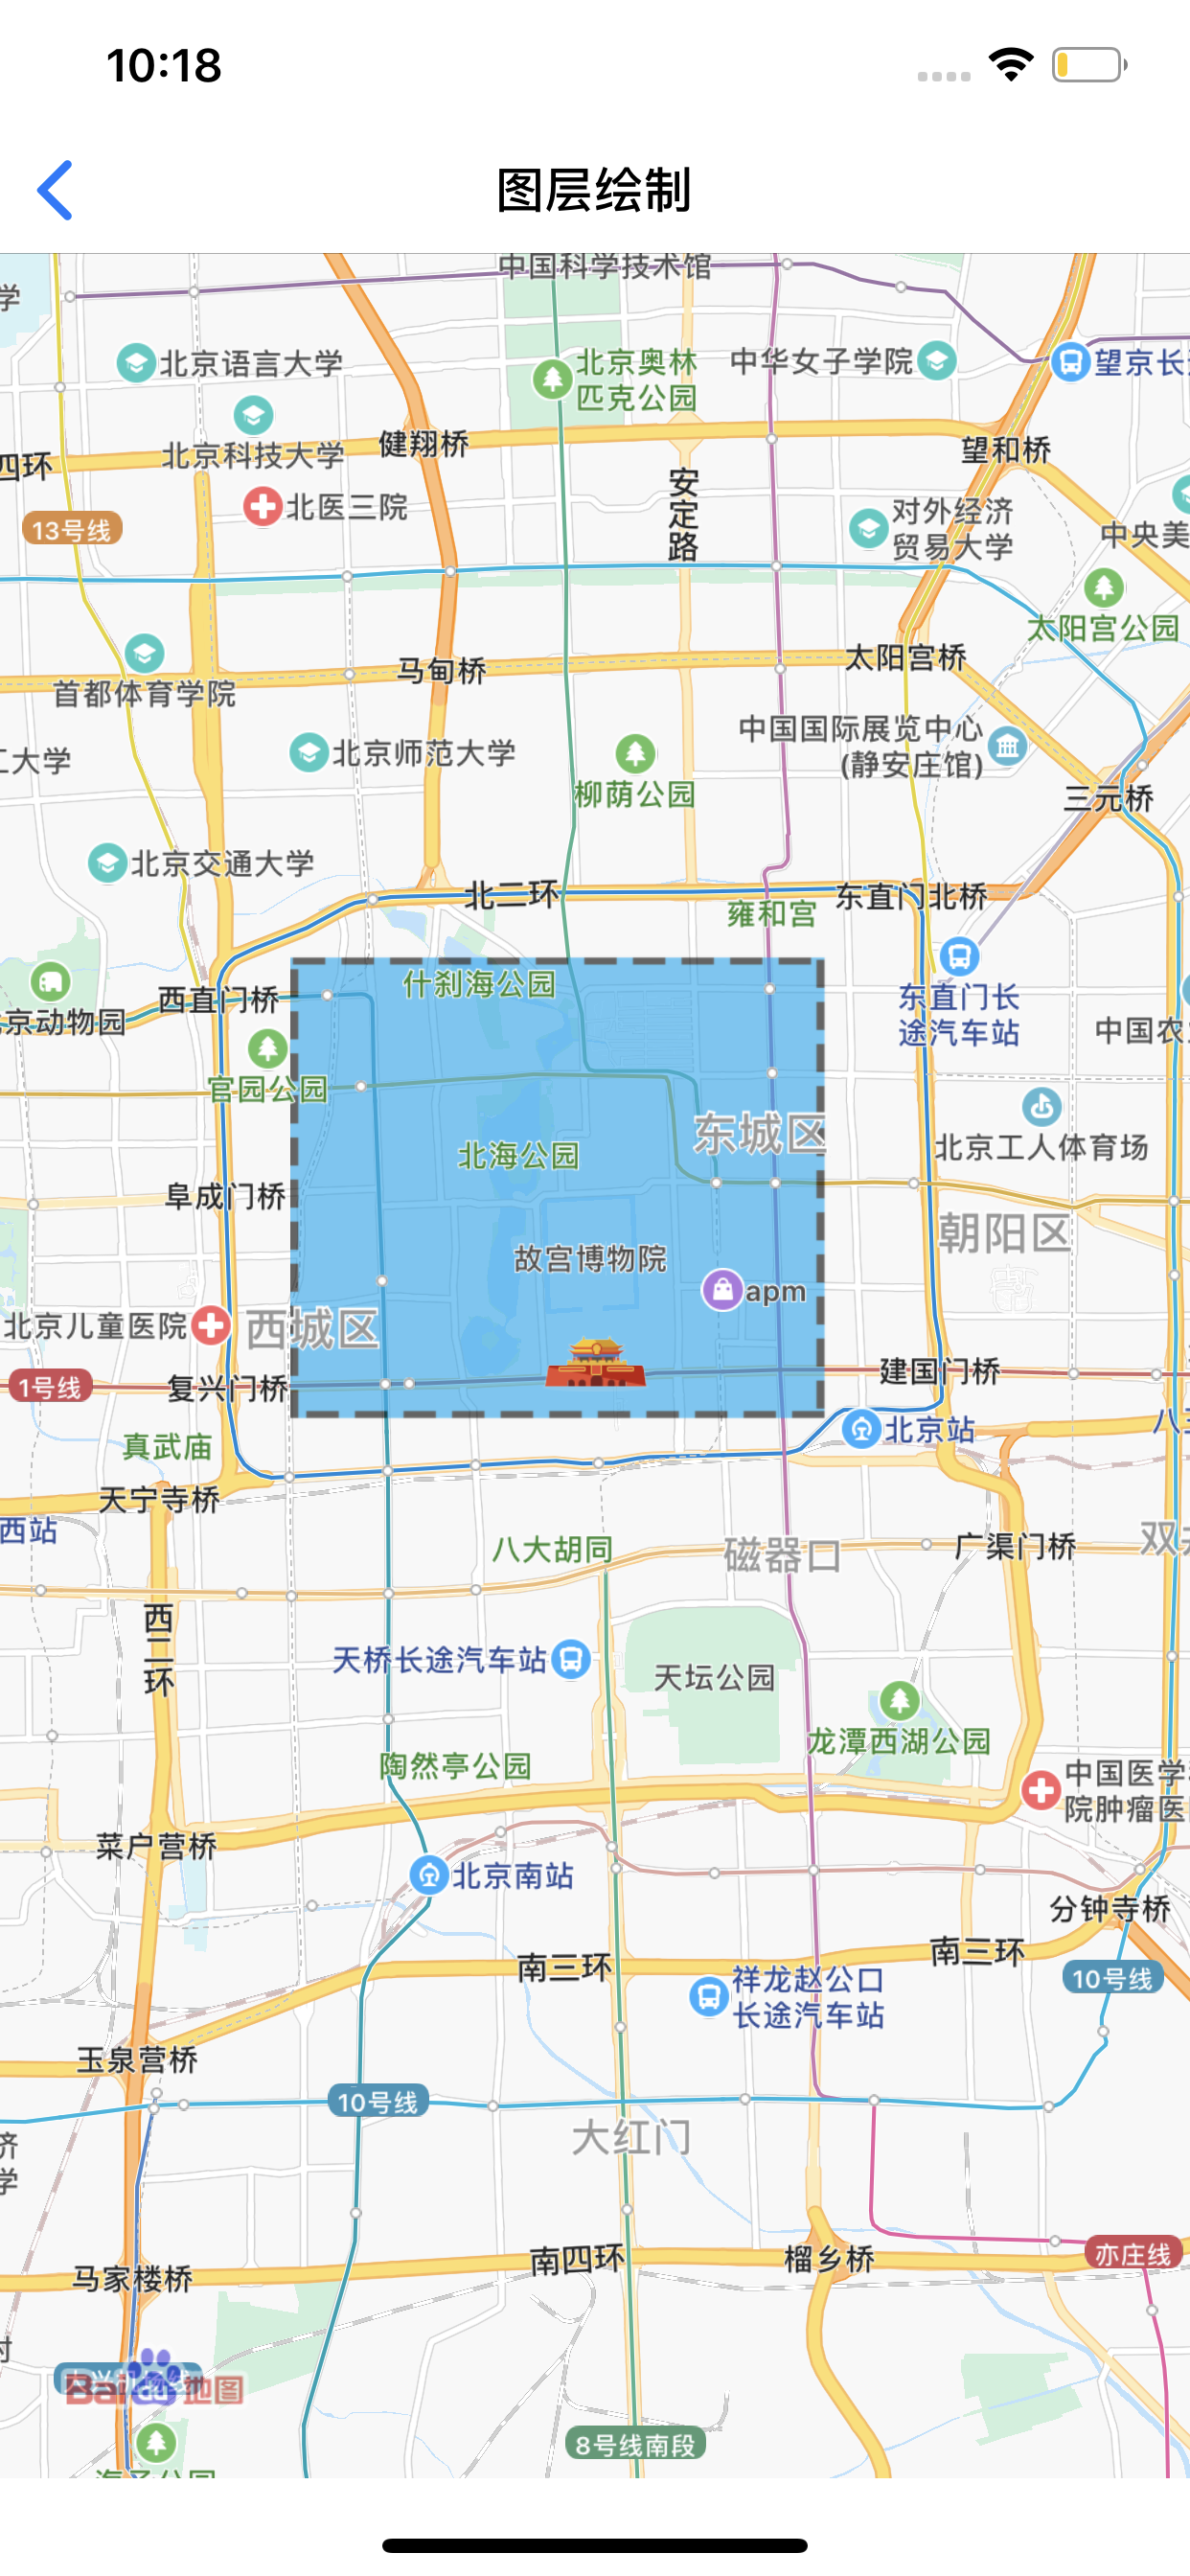
// 添加多边形覆盖物CLLocationCoordinate2D coords[5] = {0};coords[0].latitude = 39.965;coords[0].longitude = 116.604;coords[1].latitude = 39.865;coords[1].longitude = 116.604;coords[2].latitude = 39.865;coords[2].longitude = 116.704;coords[3].latitude = 39.905;coords[3].longitude = 116.654;coords[4].latitude = 39.965;coords[4].longitude = 116.704;BMKPolygon *polygon = [BMKPolygon polygonWithCoordinates:coords count:5];[_mapView addOverlay:polygon];
#pragma mark - BMKMapViewDelegate/**根据overlay生成对应的BMKOverlayView@param mapView 地图View@param overlay 指定的overlay@return 生成的覆盖物View*/- (BMKOverlayView *)mapView:(BMKMapView *)mapView viewForOverlay:(id <BMKOverlay>)overlay{if ([overlay isKindOfClass:[BMKPolygon class]]){BMKPolygonView* polygonView = [[BMKPolygonView alloc] initWithOverlay:overlay];polygonView.strokeColor = [[UIColor alloc] initWithRed:0.0 green:0 blue:0.5 alpha:1];polygonView.fillColor = [[UIColor alloc] initWithRed:0 green:1 blue:1 alpha:0.2];polygonView.lineWidth = 2.0;polygonView.lineDash = YES;return polygonView;}return nil;}
效果如图:

// 添加圆形覆盖物CLLocationCoordinate2D coor;coor.latitude = 39.915;coor.longitude = 116.404;BMKCircle *circle = [BMKCircle circleWithCenterCoordinate:coor radius:5000];[_mapView addOverlay:circle];
#pragma mark - BMKMapViewDelegate/**根据overlay生成对应的BMKOverlayView@param mapView 地图View@param overlay 指定的overlay@return 生成的覆盖物View*/- (BMKOverlayView *)mapView:(BMKMapView *)mapView viewForOverlay:(id <BMKOverlay>)overlay{if ([overlay isKindOfClass:[BMKCircle class]]){BMKCircleView* circleView = [[BMKCircleView alloc] initWithOverlay:overlay];circleView.fillColor = [[UIColor cyanColor] colorWithAlphaComponent:0.5];circleView.strokeColor = [[UIColor blueColor] colorWithAlphaComponent:0.5];circleView.lineWidth = 10.0;return circleView;}return nil;}
效果如图:

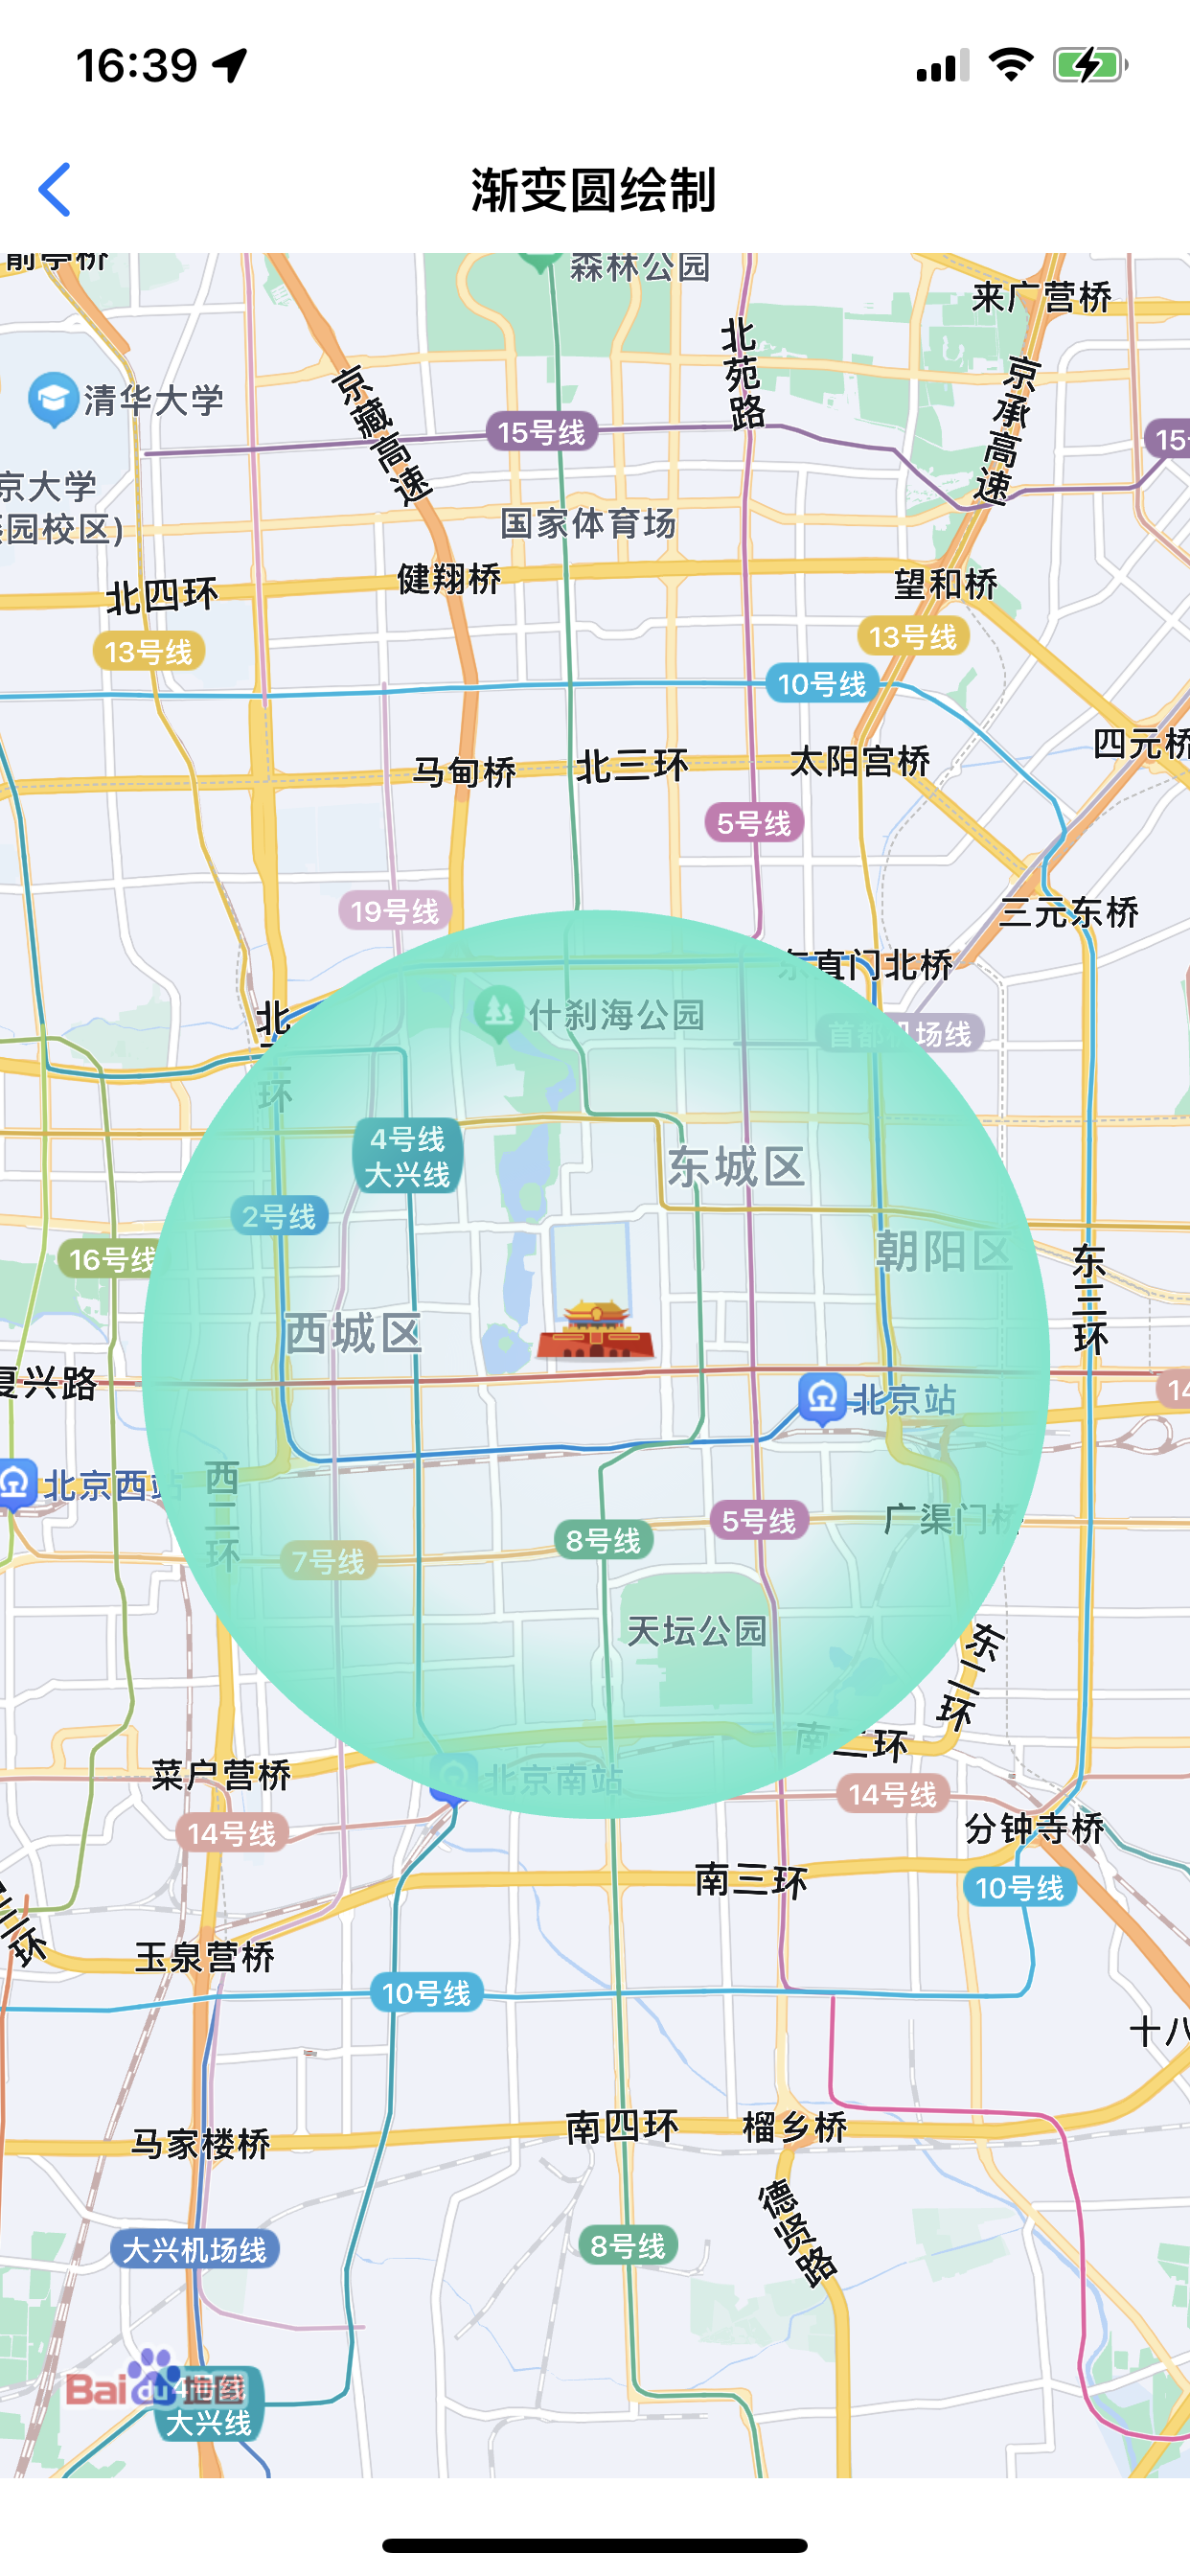
// 添加渐变圆覆盖物CLLocationCoordinate2D coor = CLLocationCoordinate2DMake(39.915, 116.404);BMKCircle *gradientCircle = [BMKCircle circleWithCenterCoordinate:coor radius:5000];[_mapView addOverlay:gradientCircle];
- (__kindof BMKOverlayView *)mapView:(BMKMapView *)mapView viewForOverlay:(id<BMKOverlay>)overlay {if ([overlay isKindOfClass:[BMKCircle class]]) {BMKGradientCircleView *gradientCircleView = [[BMKGradientCircleView alloc] initWithOverlay:overlay];/*** 渐变规则如下:* (0 ~ radiusWeight * radius) 该部分颜色从 centerColor 渐变至 colorWeight * (sideColor - centerColor);* (radiusWeight * radius ~ radius)该部分间颜色从 centerColor + colorWeight * (sideColor - centerColor) 渐变至 sideColor; */gradientCircleView.radiusWeight = 0.6;gradientCircleView.colorWeight = 0.1;gradientCircleView.centerColor = [UIColor colorWithRed:93.f / 255.f green:232.f / 255.f blue:204.f / 255.f alpha:0.0f];gradientCircleView.sideColor = [UIColor colorWithRed:93.f / 255.f green:232.f / 255.f blue:204.f / 255.f alpha:1.f];// 边框gradientCircleView.lineWidth = 2.f;gradientCircleView.strokeColor = [UIColor colorWithRed:93.f / 255.f green:232.f / 255.f blue:204.f / 255.f alpha:1.f];return gradientCircleView;}return nil;}
效果如图:
图片图层(GroundOverlay)又称为图片覆盖物,此功能支持在地图的指定位置上添加一张大小合适的图片。图片可随地图的平移、缩放、旋转等操作做相应的变换。 图片图层是一种特殊的Overlay, 它位于底图和底图标注层之间(即图片图层不会遮挡地图标注信息), 此外,图片图层的添加顺序不会影响其他图层(例如:POI搜索图层、我的位置图层等)的叠加关系。
图片图层对象初始化的方法有两种:(1)根据指定经纬度坐标生成 (2)根据指定区域生成。
//添加图片图层覆盖物(第一种:根据指定经纬度坐标生成)CLLocationCoordinate2D coord = CLLocationCoordinate2DMake(39.910, 116.420);/***根据指定经纬度坐标生成一个groundOverlay*@param position 指定的经纬度坐标*@param zoomLevel 不损失精度绘制原始图片的地图等级*@param anchor 绘制图片的锚点*@param icon 绘制使用的图片*@return 新生成的groundOverlay对象*/_ground = [BMKGroundOverlay groundOverlayWithPosition:coord zoomLevel:12 anchor:CGPointMake(0, 0) icon:[UIImage imageNamed:@"groundIcon.png"]];//图片纹理透明度,最终透明度 = 纹理透明度 * alpha,取值范围为[0.0f, 1.0f],默认为1.0f_ground.alpha = 1;[_mapView addOverlay:ground];//添加图片图层覆盖物(第二种:根据指定区域生成)CLLocationCoordinate2D coords[2] = {0};coords[0].latitude = 39.815;coords[0].longitude = 116.404;coords[1].latitude = 39.915;coords[1].longitude = 116.504;BMKCoordinateBounds bound;bound.southWest = coords[0];bound.northEast = coords[1];BMKGroundOverlay *ground2 = [BMKGroundOverlay groundOverlayWithBounds: boundicon:[UIImage imageNamed:@"groundIcon.png"]];[_mapView addOverlay:ground2];
#pragma mark - BMKMapViewDelegate/**根据overlay生成对应的BMKOverlayView@param mapView 地图View@param overlay 指定的overlay@return 生成的覆盖物View*/- (BMKOverlayView *)mapView:(BMKMapView *)mapView viewForOverlay:(id<BMKOverlay>)overlay {if ([overlay isKindOfClass:[BMKGroundOverlay class]]) {//初始化一个overlay并返回相应的BMKGroundOverlayView的实例BMKGroundOverlayView *groundView = [[BMKGroundOverlayView alloc] initWithGroundOverlay:overlay];return groundView;}return nil;}
效果如图:
//删除单个overlay[_mapView removeOverlay:ground];
批量添加
/***向地图窗口添加一组Overlay,需要实现BMKMapViewDelegate的-mapView:viewForOverlay:函数来生成标注对应的View*@param overlays 要添加的overlay数组*/[_mapView addOverlays:overlays];
批量删除
/***移除一组Overlay*@param overlays 要移除的overlay数组*/[_mapView removeOverlays:overlays];
上一篇
下一篇
本篇文章对您是否有帮助?